 Image 1 of 3
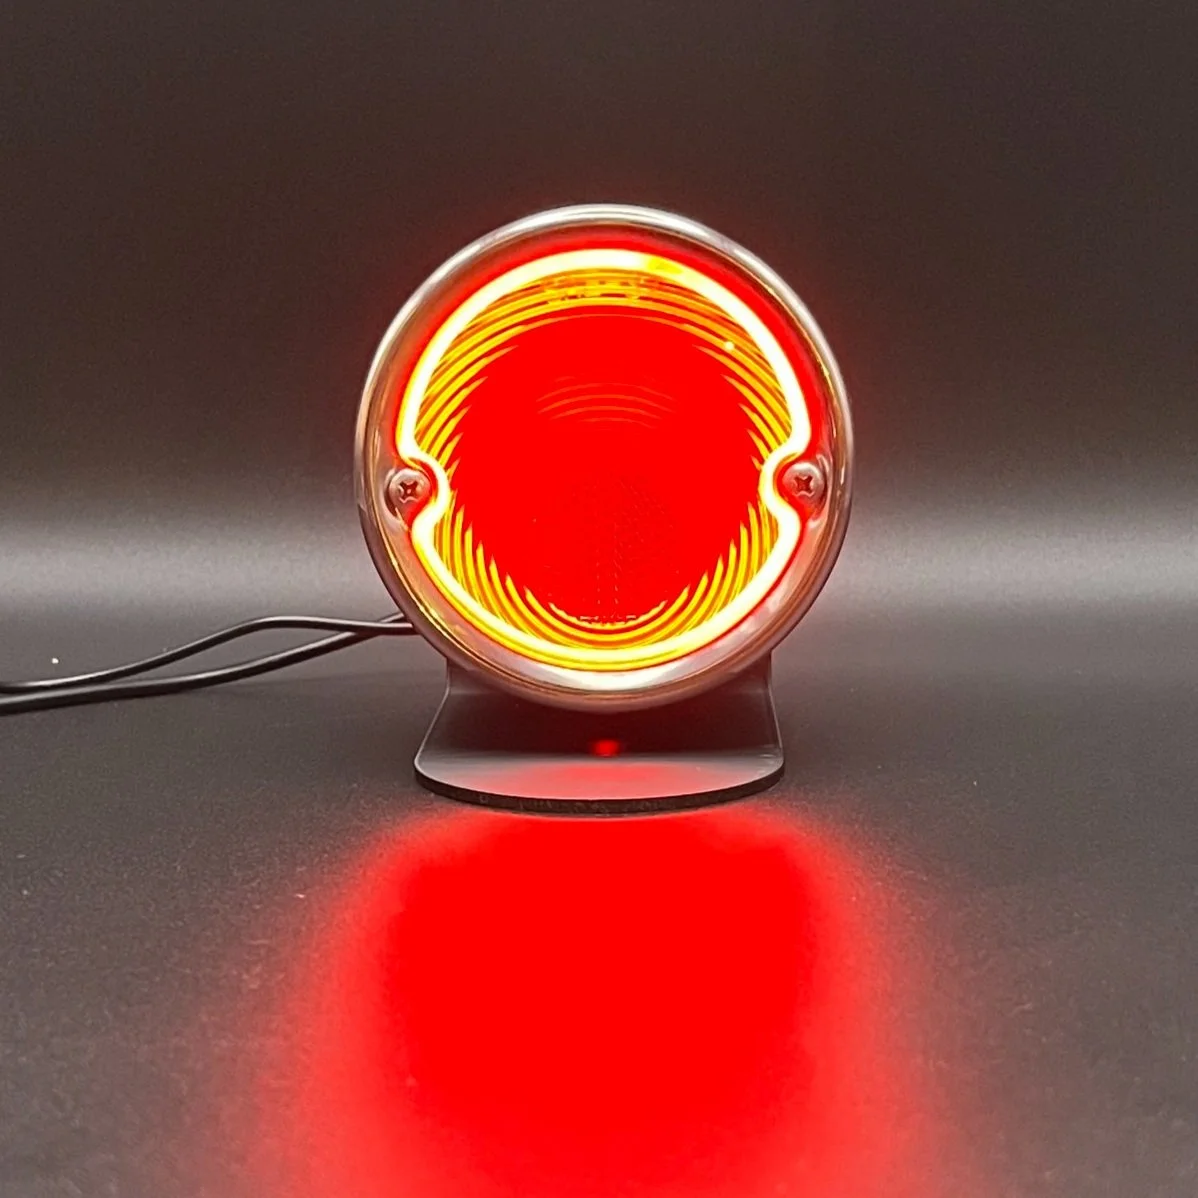 Image 2 of 3
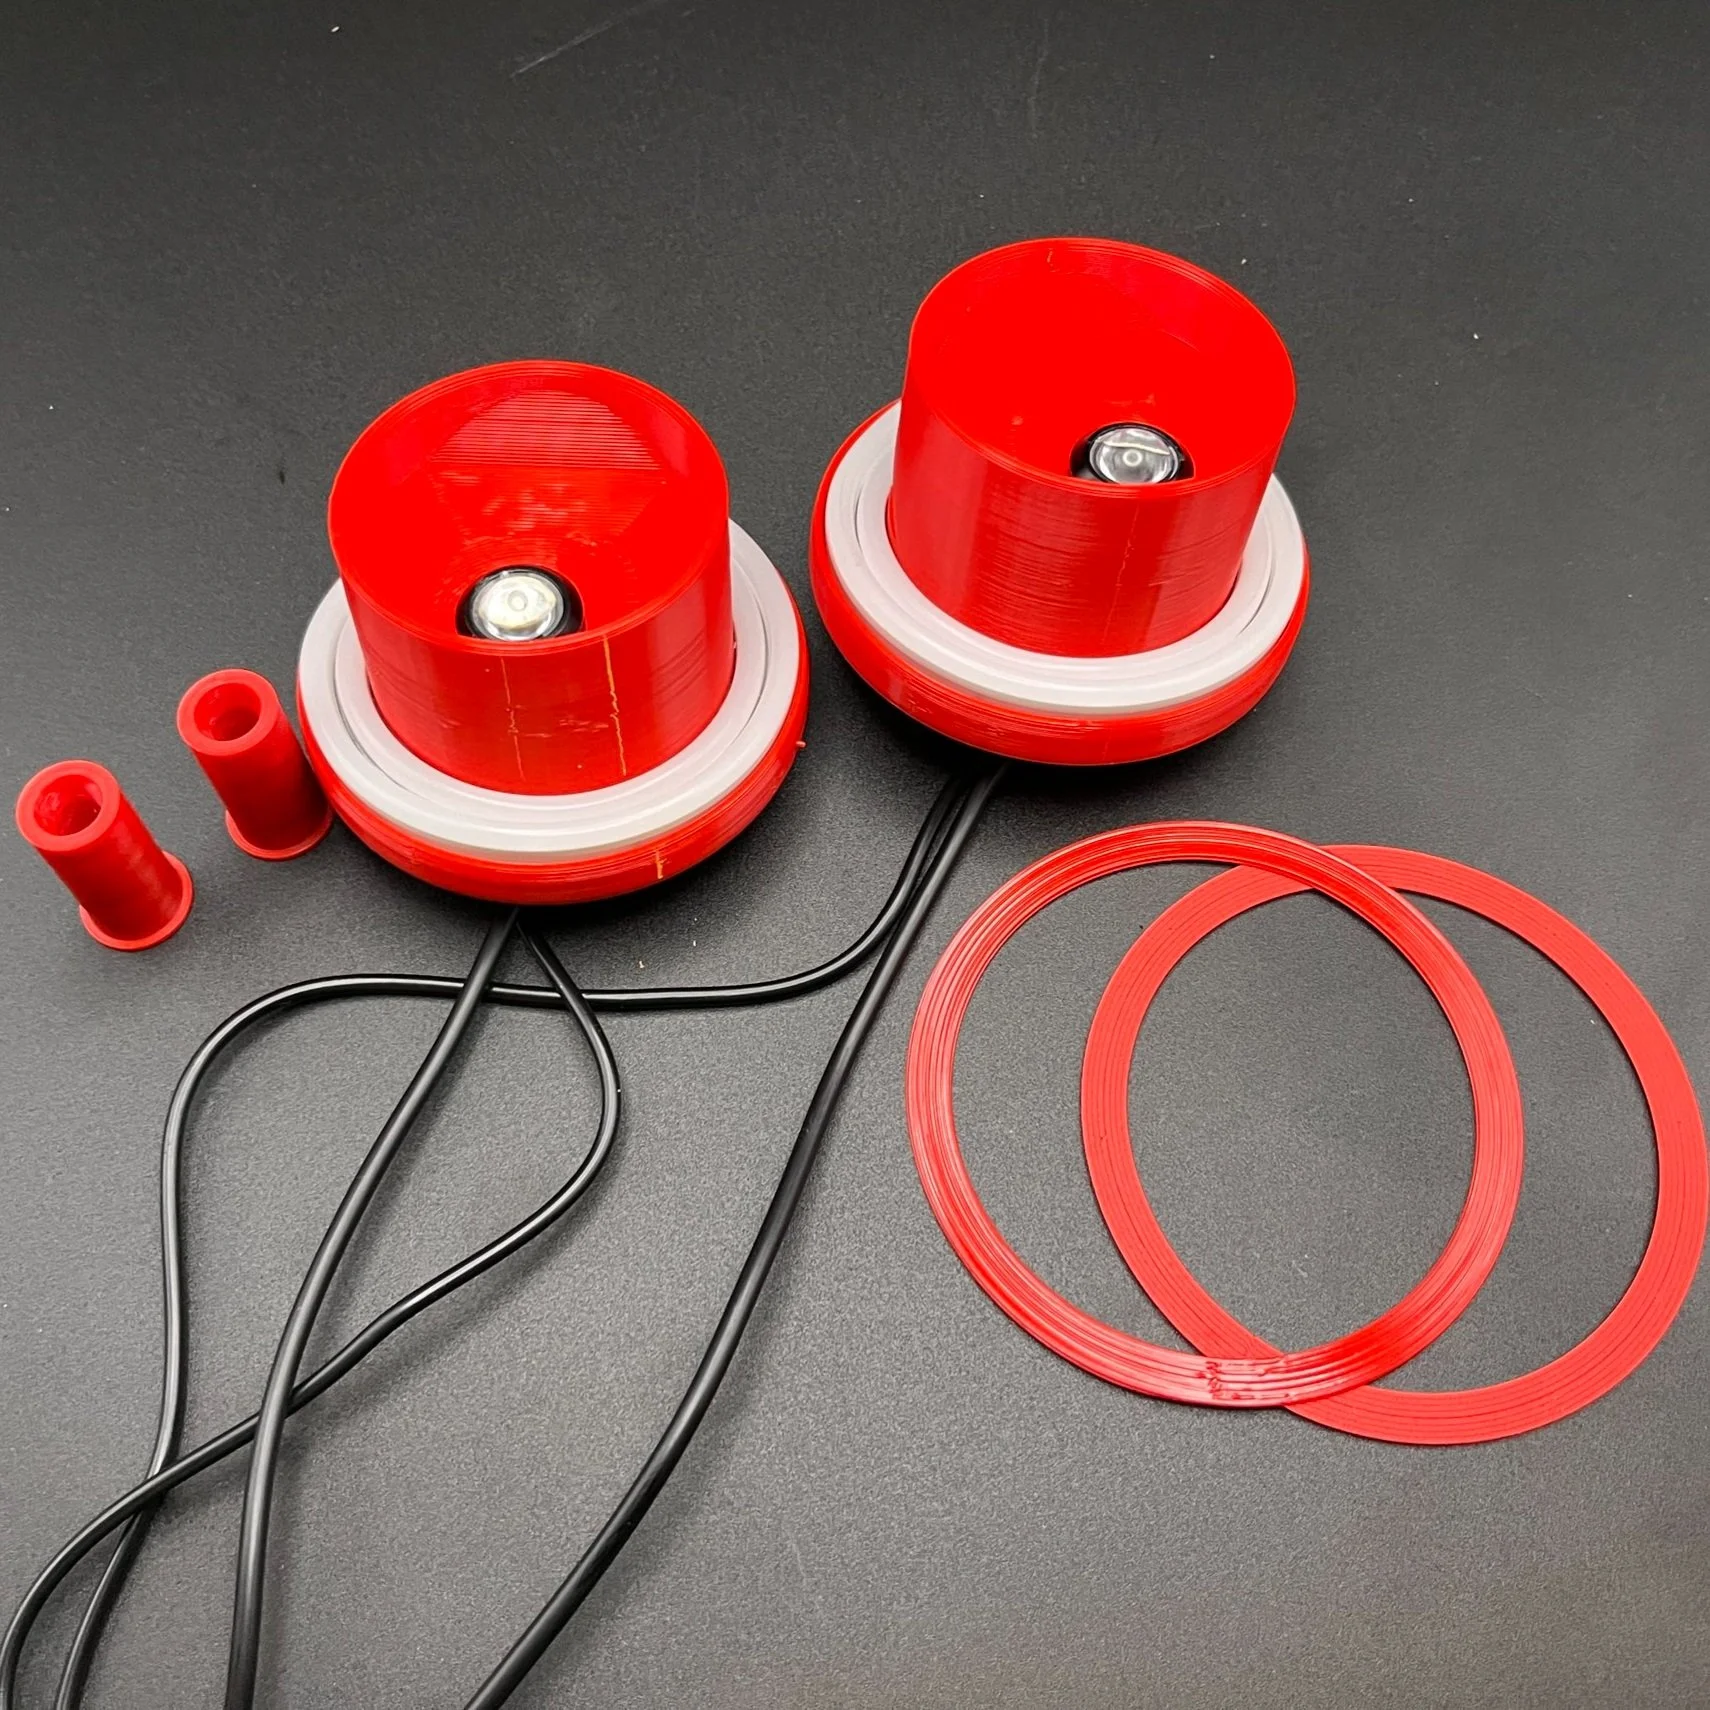 Image 3 of 3
Installation Tips:
Remove the old taillight lenses and housings.
Remove the existing bulb and disconnect the harness.
Review the Wiring Tips below to determine the wiring method of choice.
Place the wiring sleeve into the stock bulb socket with the flange on the inside. This will protect your wires.
Look for the rotational arrows on the back of the new inserts with mounted lights. This will indicate which direction the LED halo and turn signal will spin. Either option is fine—it is simply a matter of taste.
Place the new insert with mounted bulbs into the housing, being mindful of the lens mounting tabs and feeding the new wires through the sleeve.
Secure your lens and new gasket to the housing using your stock hardware.
Place a small amount of silicone or RTV in the back of the wire sleeve to seal the housing. Allow to dry.
Congratulations! You have installed the new taillights!
Wiring Tips:
You can wire these a number of different ways to achieve the look you want.
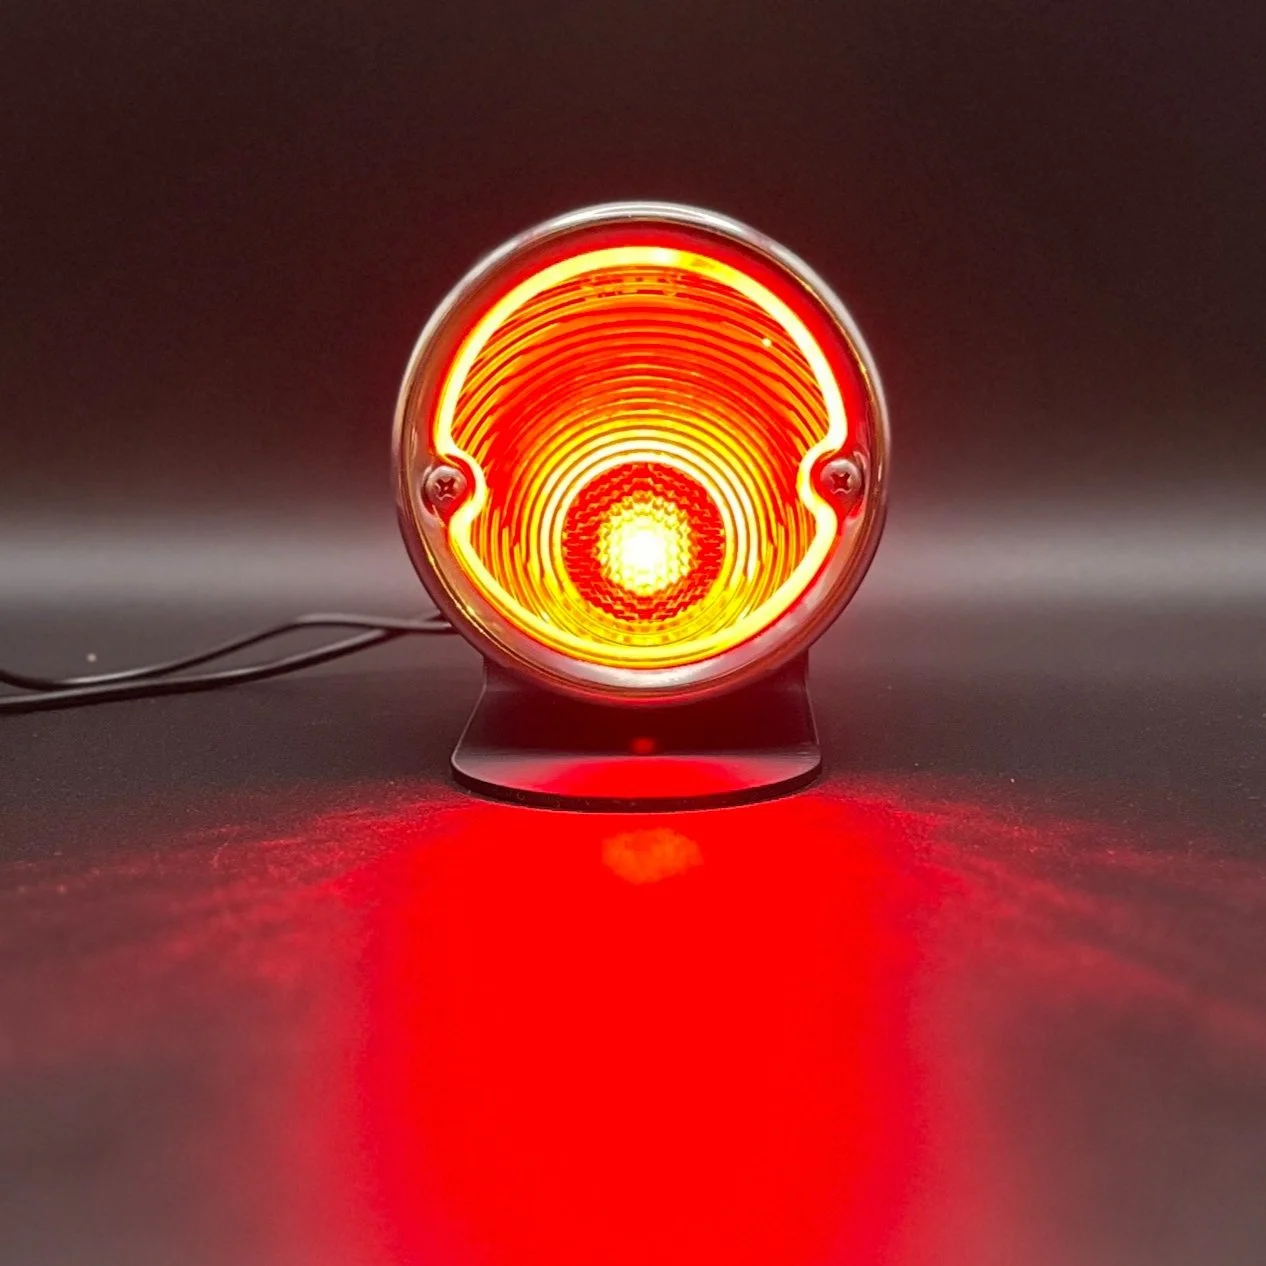
The black wire is the ground. For the perimeter light, the red wire is the running light. The yellow wire is the turn signal. For the center light, the red wire is brake light and the black wire is the ground.
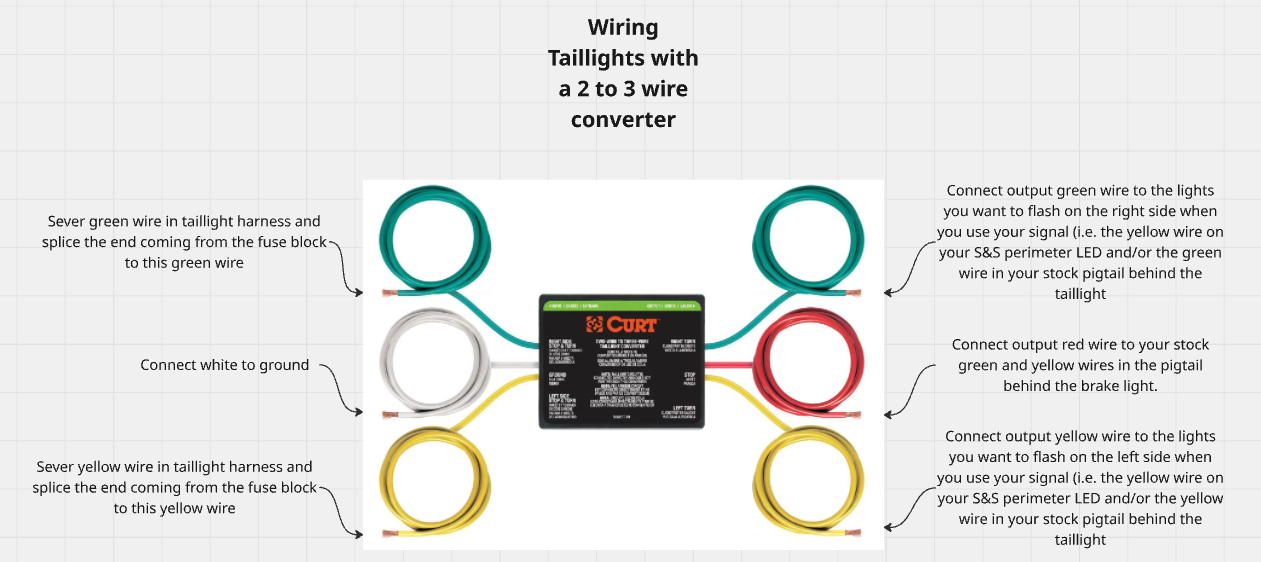
The recommended wiring method is to convert the stock 2-wire setup to a 3-wire setup by using an adapter like this: https://www.amazon.com/dp/B08MZ9CC2S?psc=1&ref=ppx_yo2ov_dt_b_product_details . Using an adapter like this one will not trigger the turn signal when signal is sent to both taillights (i.e. when the brake pedal is depressed).
If you want the running lights to turn on at startup and run continuously, you can connect the red wires to an accessory circuit in your system.
If you want the lights to turn on and off like the stock setup, just splice the wires into your stock harness.
Legal Disclaimers and Terms of Use:
Shindell & Sons Motorworks LLC products are intended for off road or competition use only.
Shindell & Sons Motorworks products are intended and sold for off road use only. Use of these products is at the customer’s own risk. Products sold for off road use are intended for off-road and racing vehicles that may never be used on public roadways. These off road only products may be illegal in many municipalities.
By purchasing aftermarket, off road only products, the customer takes full responsibility for any use and/or misuse of the product and agrees that Shindell & Sons Motorworks LLC holds no responsibility for any consequences, legal, or otherwise, of such use and/or misuse.